


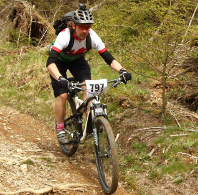
MTB Skills Coaching
MTB Skills Courses with Wheelism will have you riding faster, smoother, and safer in no time. We cater to all abilities whether you're a beginner or experienced rider.

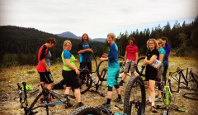
Guided Riding
Let us guide you along amazing trails across the Dyfi Forest, Coed y Brenin Forest, and the rest of southern Snowdonia.
Bike Maintenance Courses
Beginner, Advanced or Trailside maintenance courses will ensure you can always keep on riding!
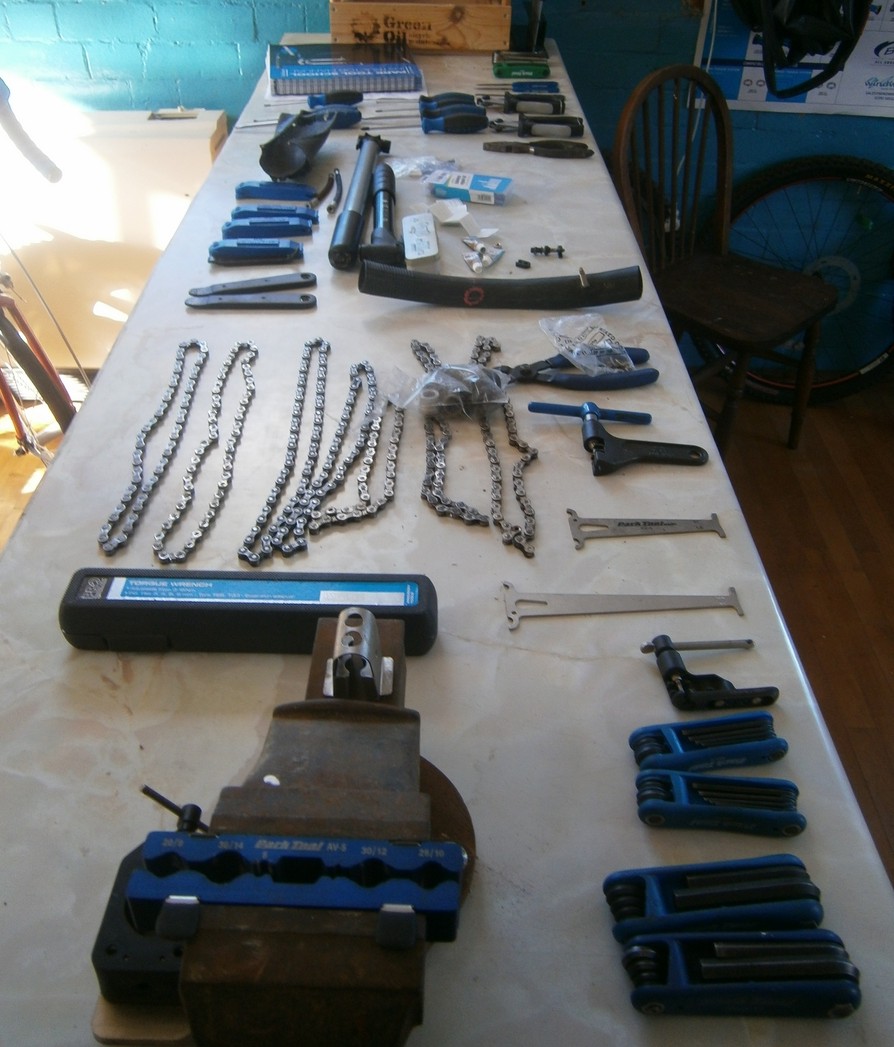
Bicycle Servicing
We also do bike servicing! Wheelism is run by Steve Beech - a Cytech Level 2 certified mechanic and DT Swiss Certified wheel builder
